June 2020
#3 – Faking 3 dimensions in a 2D-world
by Martin Menzel

Today I’ll write about how I’m creating a 3D-effect in Knights of Frontier Valley‘s custom 2D-engine.
In one of the earlier blogs I wrote about the reasons that led me to develop a 2D-engine for Knights of Frontier Valley, instead of going full 3D. There were art and performance considerations (mind when I started, things weren’t as advanced in the 3D-world as they are today), but there was also the assumption that for someone with no prior experience in game development, a 2D-engine would just be easier to make.
A 2D-engine is relatively simple to do for games where the player is looking at the scenery directly from above or from the side. Characters and objects are always rendered to the screen in the order the design demands, e.g. background items will always be behind the characters. For a game with an isometric view (at an angle), things are more complicated, as characters can be either in front of or behind the same objects, depending on where they are currently located relative to them. To make this look right, a fake 3D look (aka “2.5D”) has to be created where the rendering order constantly has to be re-evaluated based on the current position of all objects on the screen.
In the early stages of development, the wilderness map in Knights of Frontier Valley was completely tile-based, which did not allow for such a fake 3D look. Tiles with images of forests, hills, mountains and other landscapes were simply stitched together in a way that looked quite nicely in screenshots; however, as soon as characters started moving across the map, it looked like a paper map on which tin soldiers were being pushed over. Characters were always rendered over trees and mountains, since they could not be sandwiched between trees that didn’t exist as separate entities. The look was more of an abstract (or strategic) overview map, and didn’t create the desired immersion. Besides, this system would not work well for other map types like those for dungeons or towns.
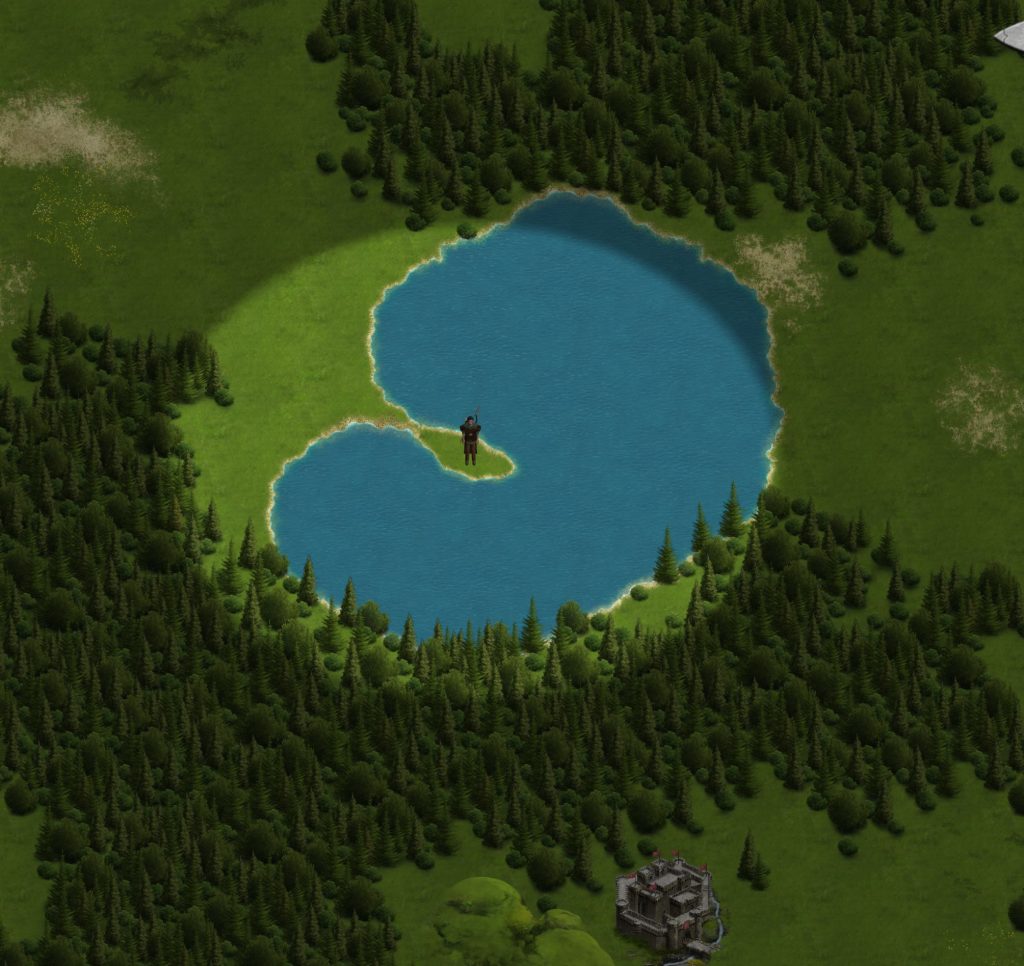
So I switched to an entity-based system where map elements like trees and hills were separate objects which could be rendered in the right order relative to moving characters, to create a 3D look. This switch from a tile-based system to an entity-based system opened up a whole new world of possibilities. For example, unlike with fixed forest tiles, it was now possible to add or remove individual trees from the map. This allowed for creating forests that grow closely around other landscape elements like randomly shaped lakes.
It also allowed for new player interactions – it was now possible to chop down trees and permanently remove them from the map (if that made sense from a gameplay perspective), or have natural events like forest fires change the map tree by tree.
And finally, each object could now be separately animated. After a little bit of animation work, I made trees sway in the wind depending on the current weather, occasionally dropping leaves or snow based on the season.
If the character was walking behind larger objects (like buildings), he was now hidden from view. Many games solve this issue by showing an outline or semi-transparent version of the character over the building. This works, but I wanted to try something different. Instead of manipulating the character, I manipulated the obstacle blocking the view. This was implemented with a shader that renders the blocking object transparent around the area of the main character, which keeps more details of him in view.
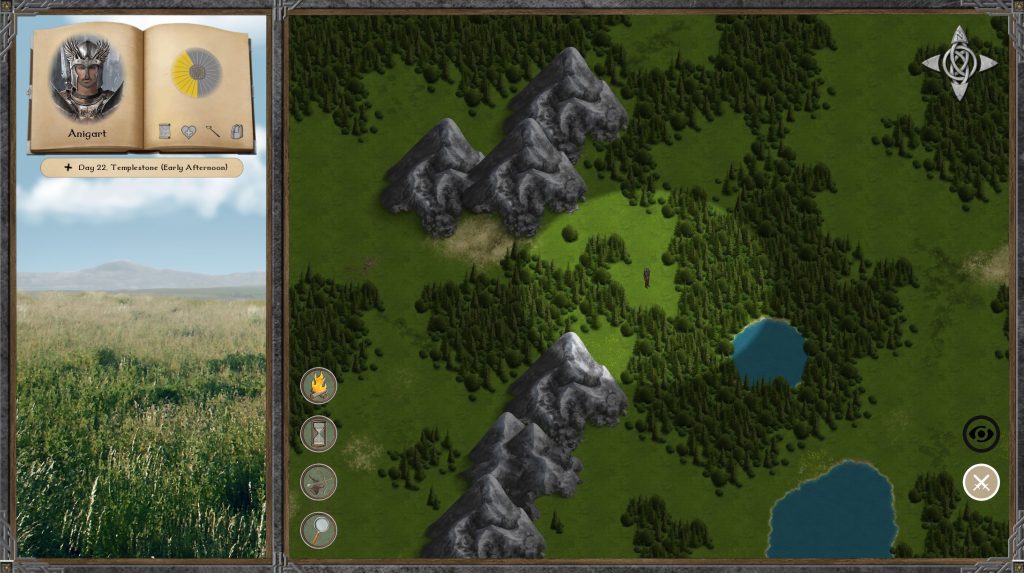
With the entity-based system and the rendering order changes in place, the game looked a lot more interesting. However, one important part was still missing: while the changes to the rendering order created an illusion of distance, the terrain was ultimately still flat. Characters could now be in front of or behind hills, but not on top of them. This was a huge problem when characters crossed hilly terrain on a vertical path. When going upwards on the screen (away from the viewer), characters were in front of the hill until up to a certain point, just to suddenly be teleported behind it once the threshold of the map position demanded it. Without a concept of elevation, how could a character be “on” a hill?
I pondered on this for a while, and finally came up with a way to create the illusion of elevation without the engine actually supporting it. I enjoy solving this kind of problem myself, so I couldn’t say whether there is a recommended standard solution for it. Here’s what I came up with, in a nutshell:
1) When the game starts up, a pixmap of every hill shape in the game is created, from which I can derive the lowest and the highest pixel in each column (x-position) of the hill’s art file. This step fills a 2-dimensional array of numbers which tells me how far the foot and the crest of this specific hill are apart (= how high the hill is) at each x-position of the image. By doing this dynamically every time the game starts up, it is possible to modify the hill art (or add new hills) and it will just continue to work.
2) When a character is in the area of a hill, I first determine whether he is in front of or behind it. For this, it is assumed that the crest of every hill is in its vertical center. The rendering order between character and hill will be based on that.
3) When the character is in front of the hill, I determine which percentage of the distance from the foot to the crest of the hill (from the lowest pixel to where the crest is to be assumed) he has covered so far. Next, I take the height of the hill at the character’s location from the cached array created earlier, which tells me how much “higher” the character would have to be rendered if he was on the very top of the hill. Since I already know how much of the ground he has covered on his way up, I have all the info needed for calculating the current offset to the character’s y-position (his fake “elevation”).
4) Once he crosses the crest, the rendering order has to be reversed, so that the hill is now drawn over him. Behind the hill, the fake elevation is calculated in a different way, because there is no information in the art on where the hill hits the ground in the back (that part is hidden behind the hill). But in essence, it’s mostly similar to what is happening when the character is in front of the hill.
There’s some more complexity to it. Flying characters should always be rendered over the hill. Clicks on the hill (to set a path destination) need to be projected in the reverse way. And characters, while on a hill, have to be rendered over other nearby objects, such as trees, even if they would be “behind them” based on their map position (“higher up” means closer to the viewer).
I anticipate more challenges around fake elevation when I get to castle walls, which can be climbed via stairs. Fake away.
Until next time,
Martin